Crafting Your Day-Of Timeline: Part Two of Three
Hello again, lovebirds!Today, we are back with the second part of our day-of timeline blog series. In Part One, we discussed a list of things you must consider before starting your day-of timeline. Part Two is all about organizing those details and putting pen to paper to create an efficient, smooth timeline! It is important to remember that many details are highly individual. Timing, vendors, and other details are not universal, so your timeline will be specific to your wedding and who you have hired – no two timelines are the same! Therefore, the steps we suggest are useful guidelines, rather than a complete magic formula. Let’s get started! Photo Credit: Andrew Abajian Creative
1. Start with the data
At the top of your day-of timeline, write down all the facts you know about your wedding. This should include your getting ready location, the number of attendees, the number of children attending, a bridal party headcount, and vendor details. Include all the numbers! Remember, this is a document anyone should be able to pick up and run the show, but make sure you designate a coordinator to keep the production flowing smoothly! Photo Credit: Jillian Rose Photography
2. The FOUR major times
There are four specific times that will serve as marking points throughout your unique timeline. These are key times, therefore you must reference back to them when planning out the specifics of your day.
- Time you are allowed on the property.
- Start time listed on invitations.
- Time the music has to be completely off.
- Time you have to be completely cleaned up and off the property.
 Photo Credit: Chloe Moore Photography
3. At property-on time, vendors should be in full force
Everyone gets a “call time”, no matter what their role is. Whether it be vendors, the bridal party, or parents, there is a time and place they will need to be. First things first, receive any deliveries. If the wedding is built from scratch, rentals typically arrive first. If the venue has in-house amenities, like a hotel, regular vendors (caterer, florist, etc.) should come first. Ask each vendor how much time they will need to set up and assign their “call time” accordingly. Photo Credit: Birds of a Feather
4. Organize getting yourself and others ready
Make a hair and makeup schedule for every person. As mentioned in Part One, leave nothing up to chance! Assign each member of your bridal party to a hair and makeup service and map out their schedule for getting ready. Even if they do not strictly stick to the timing, the accountability of having a time scheduled will help keep everyone on schedule. Photo Credit: Nick Radford
5. Photo timing
Capturing the day for memories is very important! Allow enough time to get the shots you want. In Part One, we mentioned the categories of photos you may want, as well as the option for a First Look. These decisions will affect photo planning. Once everyone is dressed, photos should begin immediately. Do not be surprised if you are ready and taking photos while the ceremony appears to only be half set up. Trust your vendors to meet their schedule. Set up teams can accomplish more in a small amount of time than you might expect. Photos should wrap thirty minutes before the start time indicated on your invitation. At this time, the bride should be out of sight relaxing and there should be no activities planned once guests start arriving. Photo Credit: Holding & Co.
6. Ceremony timing
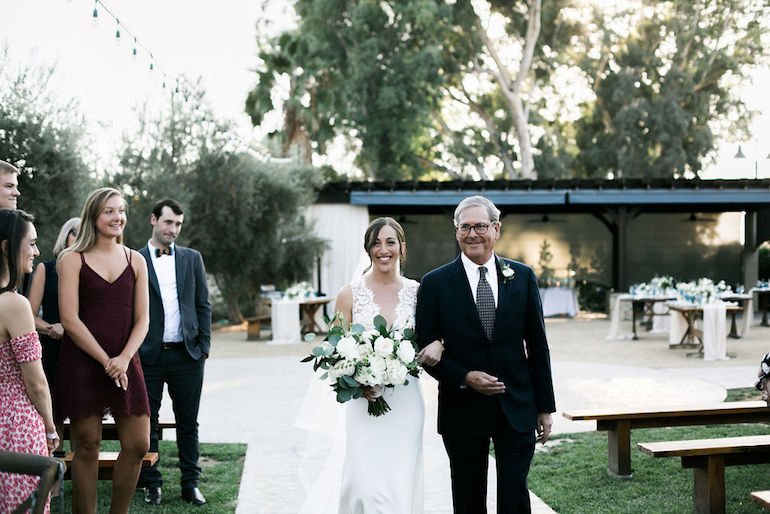
It is unrealistic to expect your ceremony to start at the exact time indicated on your invitation. It is likely guests will be late in sitting down or you will be running a few minutes behind. To avoid the stress of running late, plan for it! Expect to begin 15 to 30 minutes after the announced start time. Photo Credit: Salt and Sky StudiosThat’s it for now, lovebirds! Join us next time where we will continue talking about timing and figuring out the flow of your reception.
